Navigation between pages in Vue-Router 2.0

In this example, we’ll be making a basic navigation menu. There will only be two pages for simplicity. To get straight to the point, I won’t start with how to setup the Vue-Router. Please read the previous article How to setup Vue-Router 2.0: Basic setup.
This is the second part of the three part series tutorial on Vue-Router 2.0 basic setup.
Let’s make the second page.
Make Page2.vue and save it in the pages folder.
<template>
<h1>Page 2!!!</h1>
</template>

<script>
export default {
}
</script>
Add Page2 page component in the router.js file.
import Page1 from './pages/Page1';
import Page2 from './pages/Page2';

var routes = [
 . . .,
  {
      path: '/p2',
      name: 'Page2',
     component: Page2
  },
 . . .
];
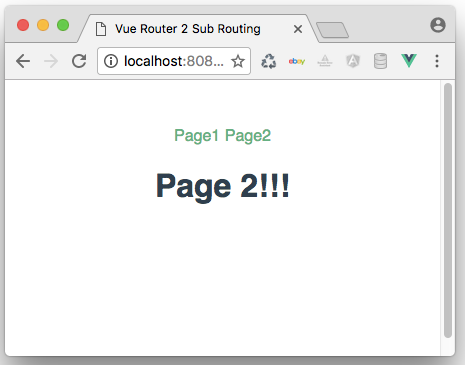
We have Page2 now. If we type http://localhost:8080/#/p2, Page2 appears in the browser. But most visitors would rather use a navigation menu to navigate between pages.
Build the Navigation view
Let’s make NavigationMenu.vue component and save it in the components folder.
<template>
<nav role="main">
   <router-link to="p1" exact>Page1</router-link>
   <router-link to="p2" exact>Page2</router-link>
</nav>
</template>

<script></script>
<style></style>
<router-link> is new in Vue-Router 2.0, and it is globally injected. It translates into <a href="" /> but with additional features. Using <router-link>, an automatic router-link-active CSS class is applied. You can also pass parameters and query strings. But the main thing I like about this is that it’s a cleaner way of making navigation elements.
We won’t be demonstrating the <router-link> features in this example because the main goal is to show how to navigate between pages using Vue-Router 2.0.
Add the Navigation view to the root component
Now that we have made Navigation view component, we can add it to App.vue.
<script>
import NavigationMenu from './components/NavigationMenu';

export default {
   components: {
      NavigationMenu
   }
}
</script>
In the above code, we import the NavigationMenu component. Then we inject it in the components property of App.vue. After injecting this component, we can use it in the <template> part.
<template>
<div id="app">
  <navigation-menu></navigation-menu>
  <router-view></router-view>
</div>
</template>
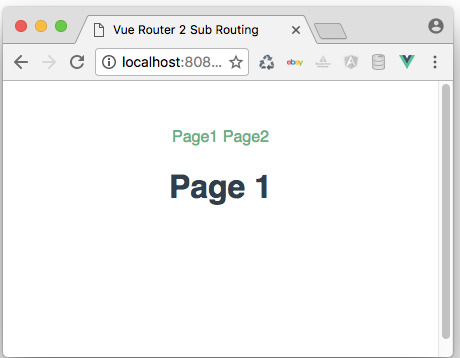
We can now test the changes in a browser. You can click between the links and see the contents of Page1 and Page2 appear.
Conclusion
Adding another page component is easy. Especially if you followed along from the previous article. The next article will show how to make sub routes and sub pages using Vue-Router 2.0!