Shorter way to make a Release APK for Ionic Android app
Short Intro
Here’s short and fast way to make a Release APK file to submit to the Google Play store. Only 3 easy steps.
Long Intro
I always forget how to generate a Release APK. My usual tasks are coding features, talking to clients, going to meetings, debugging, testing for more bugs and usability, making icons and other graphic images, etc. I only generate a Release APK on at least monthly intervals, so naturally, I’m a bit forgetful.
I kept having to look up tutorials and examples every time I had to generate a Release APK. The problems with having to do this were that many of the tutorials had a lot of steps. This had become time consuming. But recently I found out how to generate a Release APK in just 3 easy steps.
1. Generate a keystore file
Make sure you go to the right folder in your Ionic project first!
$ cd platforms/androidIf you don’t have a Release APK yet, the android folder will only contain general files. If you haven’t done a ionic build android or ionic run android, you won’t have the build folder which contains Android APK files.
On the Terminal, type:
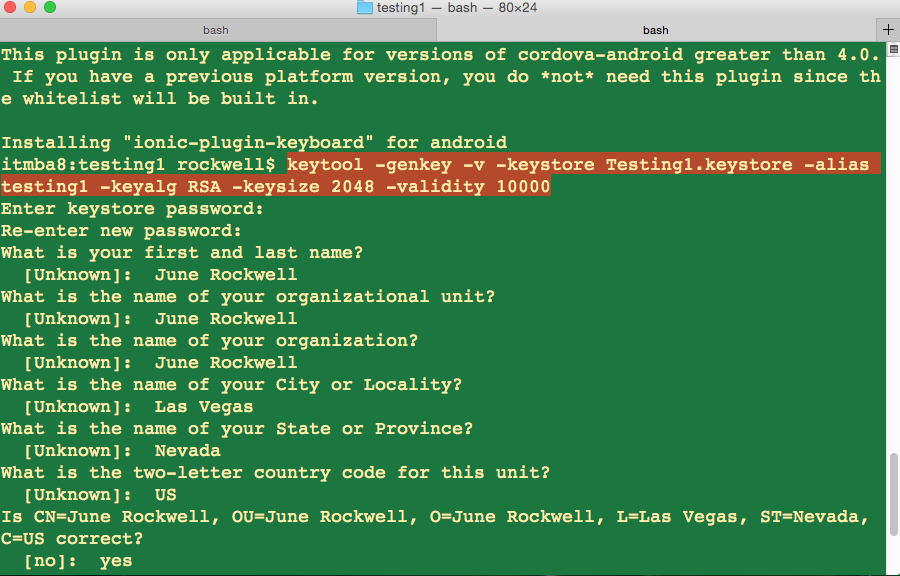
$ keytool -genkey -v -keystore <YourApp>.keystore -alias <YourApp> -keyalg RSA -keysize 2048 -validity 10000Replace <YourApp> with the name of your app. Don’t add the brackets. So if your app’s name is testing1, you’d type:
$ keytool -genkey -v -keystore testing1.keystore -alias testing1 -keyalg RSA -keysize 2048 -validity 10000The Terminal will prompt you for a Keystore password. For this example, I’m going to type testing1 for the Keystore password. Remember this password because you’ll need it to make a Release Properties file.
After entering the Keystore password, a form will show up. You must fill it up. The form looks like this:
After filling out the form, you will be asked to enter another password. I suggest using the same password with the Keystore
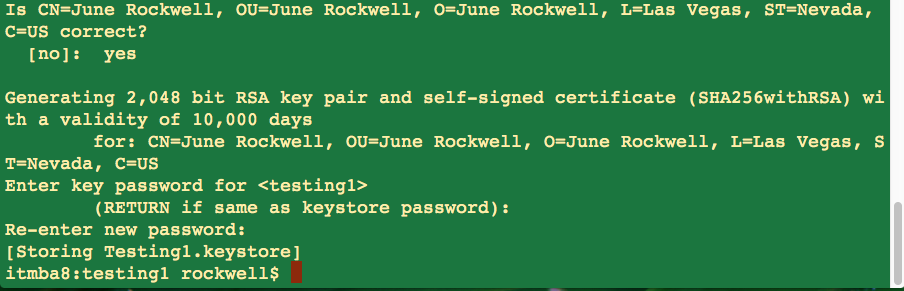
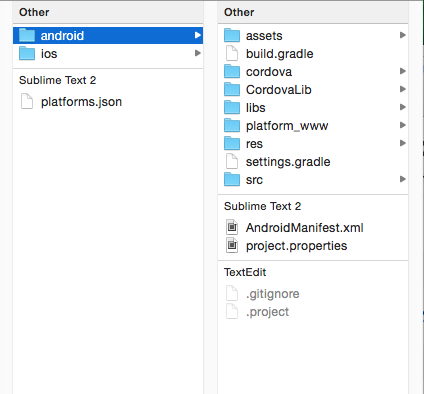
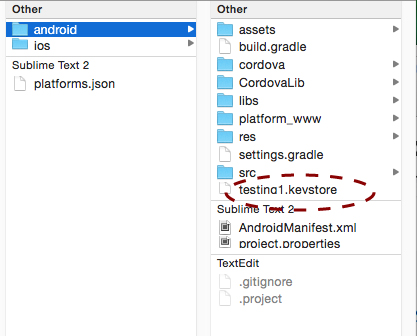
After entering the password, you should see a <YourApp>.keystore file. The one I generated for this example is called testing1.keystore
2. Make the Release Properties file
Make sure the file name is called release-signing.properties.
key.store=<YourApp>.keystore
key.store.password=<password you entered>
key.alias=<YourApp>
key.alias.password=<password you entered>
If you’re wondering, .properties is the extension. It’s really important that this file is named release-signing.properties.
3. Generate the Release APK
As long as you got the release-signing.properties file and you’ve generated a <YourApp>.keystore file, you’re ready to generate the Release APK.
Go to the terminal and type:
$ cordova build android --releaseOR
$ cd ..
$ cd ..
$ ionic build android --release
Use Finder (Mac). Navigate to your project’s platform/android folders. In the platforms folder, you should see a build folder, if it wasn’t there before.
Go to build/outputs/apk/ and you should see the android-release.apk. That’s the file you’re going to submit to the Google Play Store.
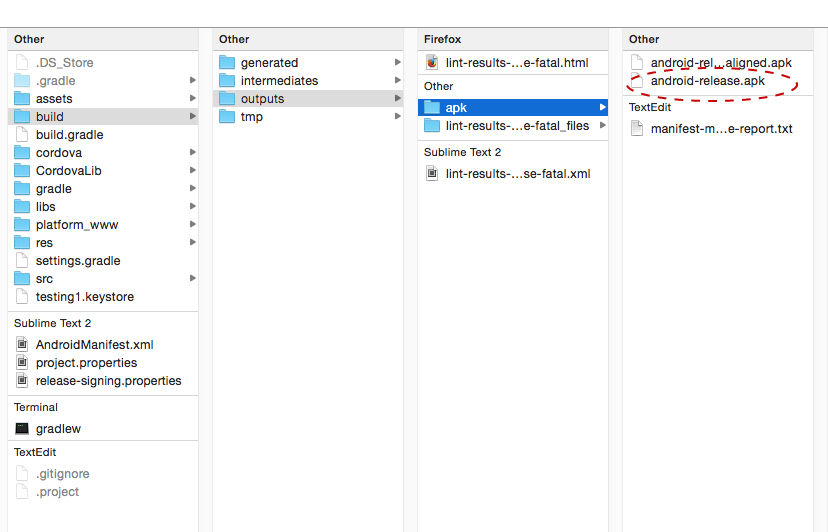
You can also look up the android-release.apk using the terminal. Just follow the path mentioned above.
For future versions, you don’t need to re-generate any .properties file or .keystore. Just type cordova build android --release, and you’re good to go.
Important
Don’t loose the .keystore file that’s unique to your app. For example, if you generate an update version with a new .keystore and especially with new .properties credentials, the Google Play store will reject that version because that new version’s SHA1 fingerprint will be different from the previous version(s).
Short Conclusion
And that’s it. Just two important things; Generate a <YourApp>.keystore file and a release-signing.properties. Afterwards, type cordova build android --release.
Long Conclusion
This used to be my private notes. After some thinking, I decided to share this so that I can look it up no matter where I am. Before I made this post, I actually kept forgetting this shorter way. I’ve had to keep going back to this, so making this post really helped me save time.